 How-to
How to Prepare Historic Home Trim for Painting
Table of Contents
- Assess the Condition of Your Historic Trim
- How to Clean Trim Before Painting
- How to Remove Loose Paint From Wood Trim
- How to Sand Wood Trim Before Painting
- Fill Dents, Holes, and Cracks
- Caulk Joints and Gaps in Historic Trim
- Best Primer for Old Wood Trim
- Common Mistakes to Avoid When Preparing Historic Trim
- Frequently Asked Questions
Last Updated: October 11, 2026
Assess the Condition of Your Historic Trim
To prepare historic home trim, assess your paint layers, wood condition, and damage before starting, this determines your entire approach.
Identify paint layers and material
Historic homes often have multiple paint layers built up over decades. Some layers may be lead-based paint, especially if your home was built before 1978. Understanding what's underneath matters for safety and preparation strategy.
Start by examining a small inconspicuous area. Look for paint that's peeling, chipping, or flaking. Count the visible layers if you can. Multiple layers suggest the trim has been painted many times without proper surface prep between coats.
Most historic trim is solid wood (pine, oak, or poplar). Historic profiles are deeper and more detailed than modern trim, preserving them maintains your home's character.
Check for moisture and underlying damage
Check for soft spots with a screwdriver, spongy wood indicates rot. Inspect around windows, doors, and where trim meets exterior surfaces. Raised grain, splintering, or checking are normal but need attention. Repair or replace rotted sections before painting; paint only hides the problem.
How to Clean Trim Before Painting
Remove loose dust with a soft brush, then scrub gently with warm soapy water and a soft-bristled brush. For stubborn dirt, add mild detergent. Never use a pressure washer, it damages delicate profiles. Allow 24-48 hours for complete drying.
How to Remove Loose Paint From Wood Trim
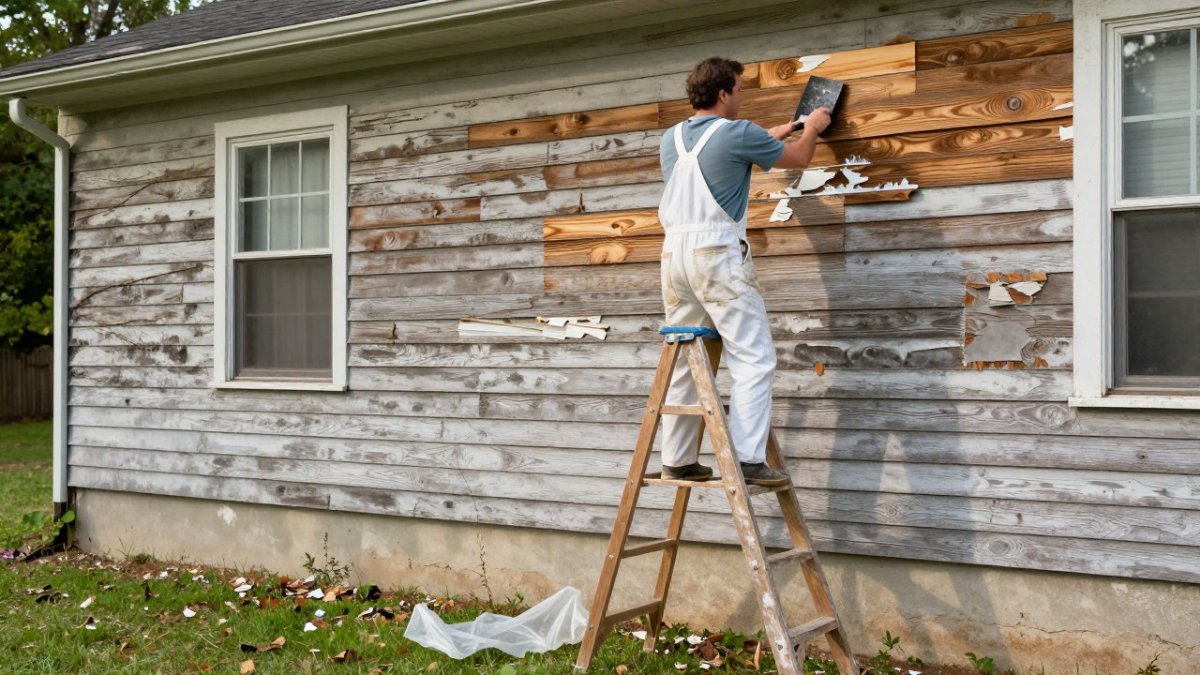
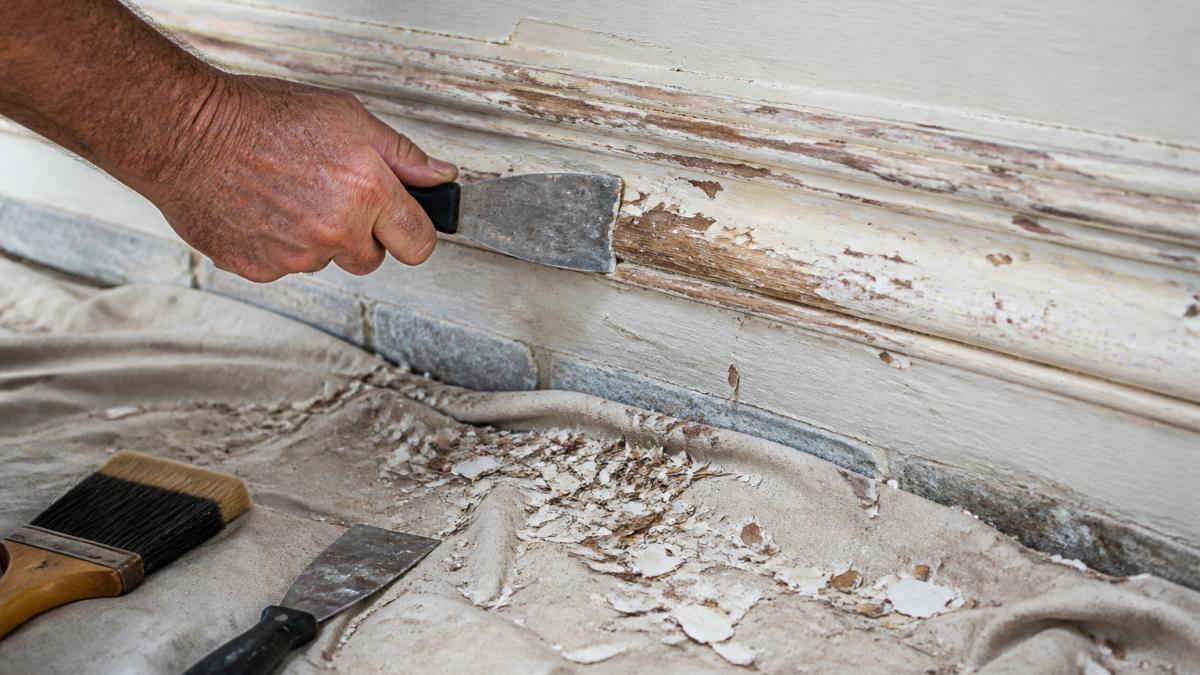
Remove loose and peeling paint before priming, it will fail under new coats. The challenge is removing only bad paint while preserving wood and original details.
Assess your paint condition first
Sound paint (firmly adhered) doesn't need removal, prime and paint over it. Peeling or flaking paint must be removed. Alligatoring (cracked pattern) requires more aggressive removal. Chalking (powder that rubs off) can be cleaned and primed over. Identify your condition first to choose the safest method.
Hand scraping for peeling and loose paint
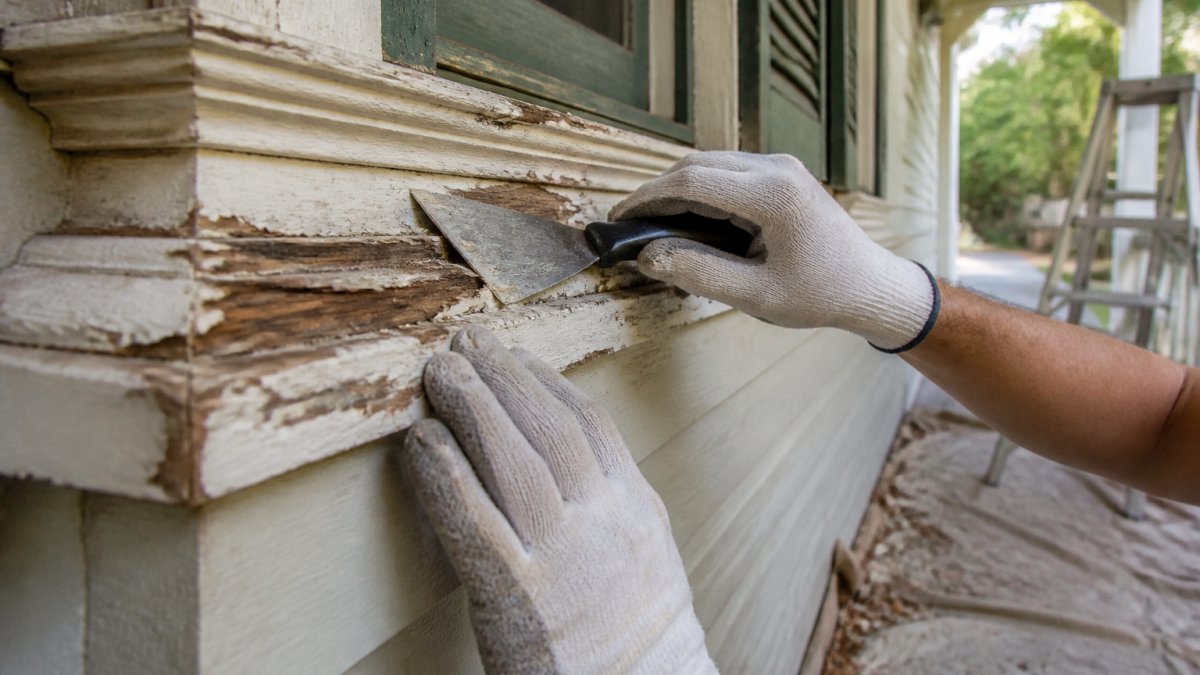
Use a hand scraper at a shallow 30-degree angle, letting gravity do the work. Move with the grain and scrape in multiple passes if needed. For stubborn paint, use a wider blade (2-4 inches) but maintain gentle pressure. Never use a heat gun, it damages molding and vaporizes lead if present.
Dealing with alligatored or heavily layered paint
For heavily alligatored paint or more than three layers, use 80-120 grit sandpaper on a sanding block to feather edges and smooth rough spots after scraping. For large areas or confirmed lead paint, hire a certified lead-abatement professional with specialized equipment.
Lead-safe removal for historic paint
If your home was built before 1978, test paint for lead using an EPA-recognized kit ($10-$30) or hire a certified inspector. If lead is present and you DIY: wet surfaces before scraping, use hand tools only, wear an N95 or P100 respirator, collect debris in sealed bags, and contain the work area with plastic sheeting. Never use power sanders, belt sanders, or heat guns on lead paint.
According to EPA guidelines on lead-safe work practices, wet scraping and hand tools are the safest methods for homeowners. The EPA also maintains a directory of certified lead-safe renovators if you prefer professional help.
When to hire a professional:
- If the trim is heavily painted or alligatored and covers a large area (more than 20 square feet).
- If you are pregnant, have young children in the home, or are immunocompromised.
- If you are uncomfortable working with lead-containment procedures.
- If the trim is ornate or delicate and you want to avoid any risk of damage.
The cost of professional lead-safe removal typically ranges from $500-$2,000 depending on area and complexity, but it eliminates health risk and ensures compliance with EPA regulations.
How to Sand Wood Trim Before Painting
Use 120-150 grit sandpaper and sand by hand with a sanding block, power tools blur fine details. Sand with the grain using light pressure. Pay special attention to scraped areas to blend them with surrounding surfaces. Vacuum or wipe away all dust with a damp cloth and allow complete drying.
Fill Dents, Holes, and Cracks
Fill small dents and nail holes with high-quality wood filler using a putty knife, slightly overfilling. Sand smooth with 120-150 grit sandpaper once dry. For wood cracks, use flexible caulk designed for wood, it moves with temperature and humidity changes. Work one section at a time.
| Defect Type | Best Material | Application | Drying Time |
|---|---|---|---|
| Small nail holes | Wood filler | Putty knife | 1-2 hours |
| Dents | Wood filler | Putty knife | 1-2 hours |
| Wood cracks | Flexible caulk | Caulk gun | 24 hours |
| Gaps between trim sections | Paintable caulk | Caulk gun | 1-2 hours |
Caulk Joints and Gaps in Historic Trim
Historic homes shift and settle, creating gaps that trap water. Use paintable, flexible caulk rated for wood, applied with a caulk gun and smoothed with a wet finger. Focus on trim-to-wall joints, trim-to-trim joints, and gaps around windows and doors. Quality caulking prevents water infiltration and extends paint durability.
Best Primer for Old Wood Trim
Primer choice is critical on historic trim because you're often painting over multiple old layers, weathered wood, or stains that bleed through new paint. Wrong primer choice is a common reason paint fails within a few years.
Understand primer types and when to use each
Shellac-based primers (BIN, Zinsser) seal tannins and stains, bond to glossy paint, and dry in 1-3 hours ($25-$40/qt). Latex primers are easier to clean but don't seal tannins as effectively ($15-$25/qt). Oil-based primers provide excellent adhesion but dry slowly ($20-$35/qt). Bonding primers stick to glossy surfaces without sanding but don't seal tannins effectively.
Match primer to your trim's condition
Bare wood with no previous paint: Use a wood-specific latex or shellac primer. Shellac is preferred if the wood is pine or has visible tannins (reddish or orange discoloration). One coat is usually sufficient. Cost: one quart covers approximately 300-400 square feet.
Multiple old paint layers, sound and clean: A latex bonding primer or standard latex primer works well if you've sanded the surface to dull the gloss. If the old paint is glossy and you prefer not to sand aggressively, use a shellac-based primer for superior adhesion. One coat is typically enough.
Peeling, alligatored, or heavily stained wood: Use a shellac-based primer. Shellac seals stains and tannins that would otherwise bleed through latex paint. You may need two coats if the wood is very stained or if the first coat does not fully seal the discoloration. Two coats of shellac primer cost approximately $40-$60 in material.
Previously varnished or oil-painted trim: Shellac primer is the best choice. Shellac bonds to varnish and oil paint better than latex primers. Sand the surface lightly first to improve adhesion, then apply one coat of shellac primer.
Test primer adhesion before painting
Before committing to a full coat of paint, test your primer choice on a small, inconspicuous area of trim. This simple step prevents costly failures.
After primer dries completely, press a piece of painter's tape firmly onto the primed surface, then pull it off quickly at a 90-degree angle. If primer comes off with the tape, adhesion is poor and you need a different primer. If the tape peels cleanly and primer stays on the wood, you're good to proceed.
This adhesion test is especially important on glossy old paint or heavily stained wood, where primer choice has the biggest impact on final durability.
Application and drying
Apply primer with a quality brush (natural bristle for oil or shellac, synthetic for latex). Use smooth, even strokes and avoid over-brushing, which can create bubbles or uneven coverage. One coat is usually sufficient on previously painted trim; bare wood or heavily stained areas may benefit from two coats.
Let primer dry completely per manufacturer instructions before painting. Shellac primers dry fastest (1-3 hours), latex primers typically need 3-4 hours, and oil primers require 6-24 hours. Humidity and temperature affect drying time, in cool or humid conditions, allow extra time.
Common Mistakes to Avoid When Preparing Historic Trim
Most paint failures on historic trim come from skipped or rushed preparation steps. Understanding what goes wrong helps you avoid the same pitfalls.
Skipping the assessment. Many homeowners start scraping without understanding what they're dealing with. Knowing your paint type, wood condition, and moisture issues upfront prevents costly mistakes mid-project.
Rushing the cleaning. Dirt and mildew on the surface prevent paint adhesion. Cleaning feels like busywork, but it's essential. Take your time and let the trim dry fully.
Aggressive scraping or sanding. Historic trim is irreplaceable. Overzealous scraping damages the wood and obliterates fine profile details. Gentle methods preserve the trim's character while removing failed paint.
Skipping caulking. Gaps and joints are water entry points. Caulking before priming prevents moisture problems that would otherwise develop under the new paint.
Using the wrong primer. Cheap primer or all-purpose primer often fails on old wood. Invest in a quality wood primer designed for your specific situation.
Not allowing proper drying time. Humid conditions slow drying. Rushing to paint before primer is fully dry creates adhesion problems and peeling paint.
At Southern Perfection Painting Inc., we prioritize understanding the trim's condition, using lead-safe methods when needed, and applying time-tested preparation techniques. Our crews use premium primers from Sherwin-Williams and Benjamin Moore, products trusted by professionals for durability on old wood.
Preparing historic home trim properly takes patience, but it's the difference between a paint job that lasts 3 years and one that lasts 10.
If you're uncertain about lead paint, moisture damage, or the best approach for your specific trim, Southern Perfection Painting Inc. offers free estimates and detailed assessments. Our 42 years of experience with historic properties means we understand the unique challenges these homes present.
Frequently Asked Questions
What do you clean historic trim with before painting?
Use mild soap and warm water with a soft cloth or sponge to remove dust, dirt, and surface grime. For stubborn buildup, a TSP (trisodium phosphate) solution works well but requires thorough rinsing. Avoid pressure washers, which can damage historic wood profiles and force water into joints. Allow trim to dry completely, typically 24 hours, before proceeding to the next preparation step.
How can you tell whether historic trim has lead paint?
Homes built before 1978 likely contain lead paint. A certified lead inspector can test your trim; EPA-approved test kits are also available for DIY use. If lead paint is present, use lead-safe removal methods: wet scraping (keeping surfaces damp to minimize dust), HEPA-filtered vacuums, and wet wiping rather than sanding. Never sand, grind, or torch lead paint, these methods release dangerous particles. Professional lead-safe contractors are recommended for extensive lead paint removal.
Do you need to sand wood trim before painting?
Yes, sanding creates a smooth surface and improves paint adhesion. Use 120- to 150-grit sandpaper for most historic trim; finer grits (180-220) work better for final smoothing. Sand lightly to avoid removing historic material or profiles. A sanding block helps maintain even pressure. After sanding, vacuum thoroughly with a HEPA filter and wipe with a damp cloth to remove all dust before priming.
What primer should you use on historic wood trim?
Shellac-based primers bond well to old wood and provide excellent adhesion over multiple paint layers. Latex primers are easier to clean up and work with modern latex topcoats. For bare wood, a quality latex primer designed for wood works well. Test primer adhesion on a small, inconspicuous area first. Allow primer to dry per manufacturer instructions, typically 1-3 hours for latex, longer for shellac, before applying finish coat.